Cheque Recevables Cycle
Mark Cheque as Under Collection
Go to the
Payment Entryfor the cheque you want to mark as under collection.Select the
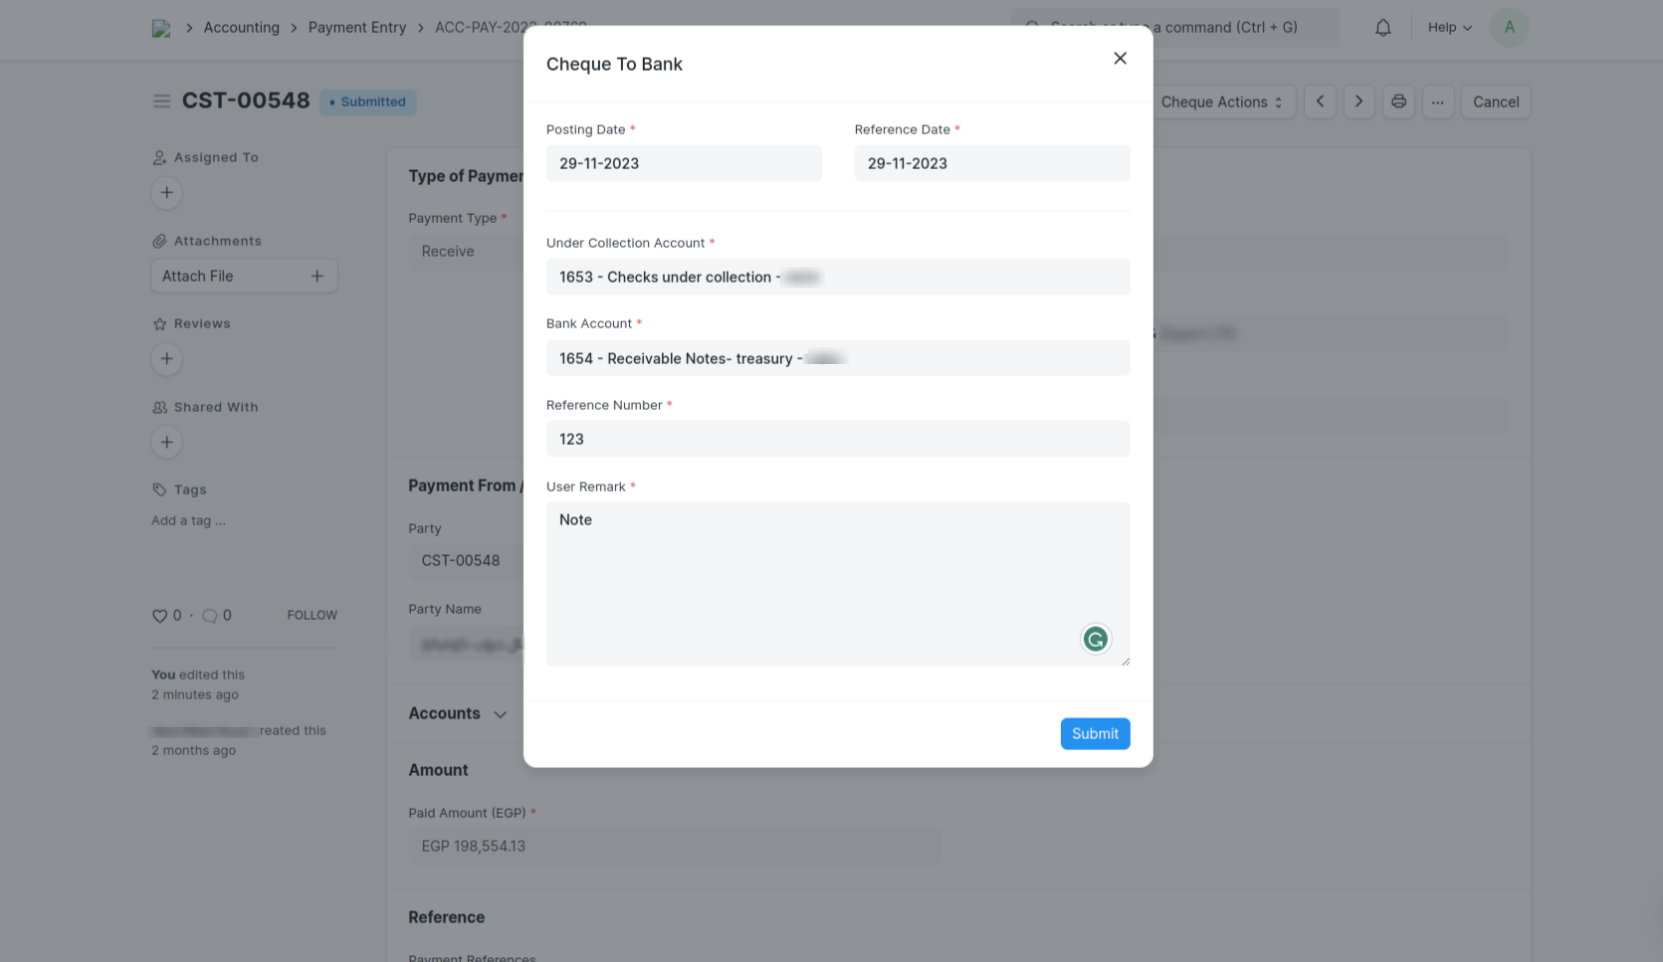
Cheque Actionsmenu and chooseUnder Collection..png)
Enter a reference number ,date and your user remarks for the under collection.
Submit
When you submit the "Under Collection" action for a cheque in ERPNext, the following steps are taken:
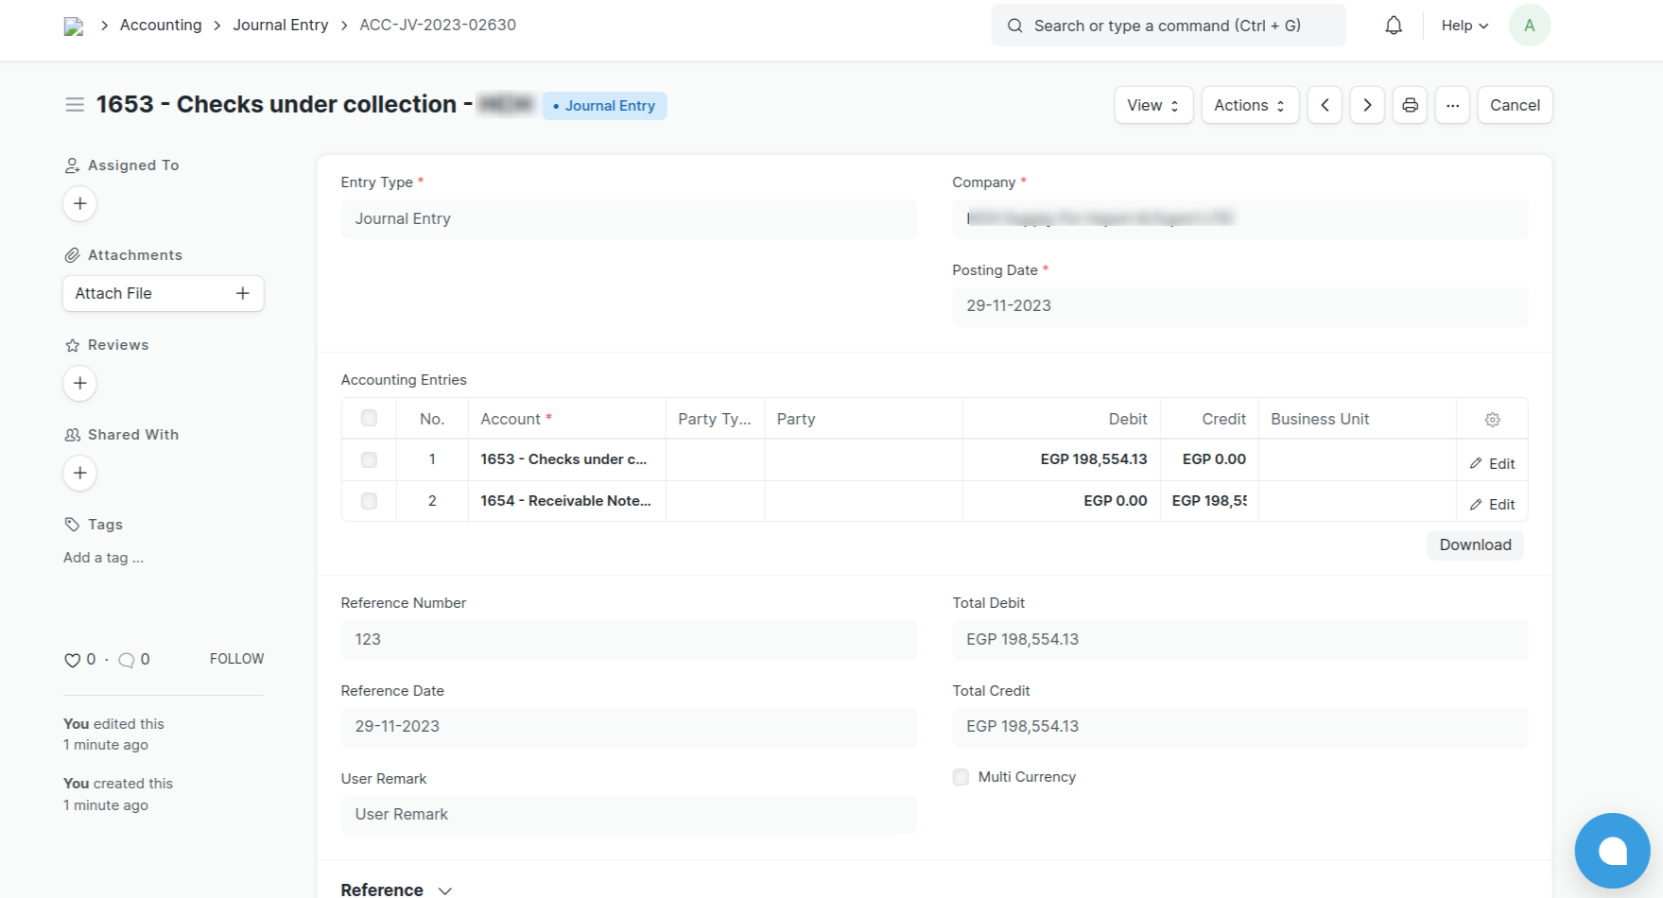
A journal entry is created to reflect the transfer of funds from the bank account to the under collection account.

The journal entry ID is added to the "Cheque Details" child table of the payment entry.
The stage status of the cheque is updated to "Under Collection".

The cheque status is updated to "Under Collection".
Mark Cheque as Bounced :
Navigate to the Payment Entry: Locate the payment entry associated with the bounced cheque.
Access Cheque Actions: Select the "Cheque Actions" menu from the payment entry.
Choose Cheque Bounced: Opt for the "Cheque Bounced" option from the menu.
Submit Action: Click the "Submit" button to finalize the bounced cheque action.
Upon submission of the "Cheque Bounced" action, the following steps occur:
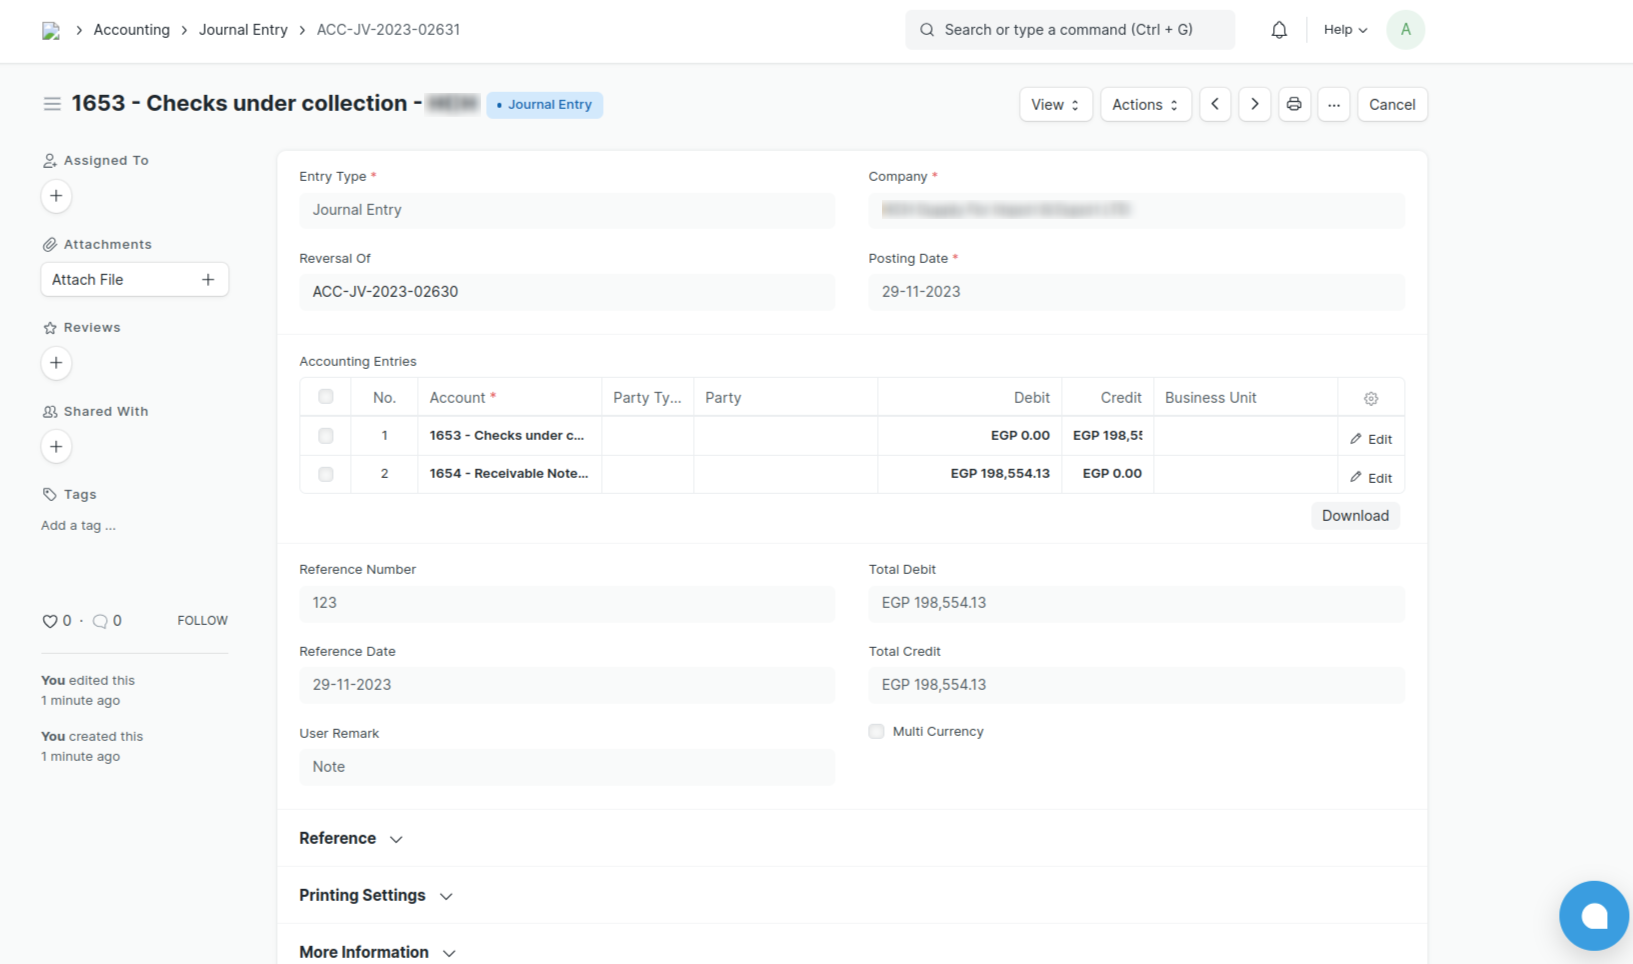
Create Reverse Journal Entry: A reverse journal entry is automatically generated to reverse the effects of the initial journal entry created when the cheque was marked as under collection.

Update Journal Entry ID: The journal entry ID of the reverse journal entry is added to the "Cheque Details" child table of the payment entry.
Set Cheque Stage Status: The stage status of the cheque is updated to "Bounced" within the "Cheque Details" child table.

Modify Cheque Status: The overall cheque status is modified to "Bounced" in the payment entry.
Mark Cheque as Collected:
Locate the Payment Entry: Access the payment entry corresponding to the collected cheque.
Access Cheque Actions: From the payment entry, select the "Cheque Actions" menu.
Choose Cheque Collected: Opt for the "Cheque Collected" option from the menu.

Submit Action: Click the "Submit" button to finalize the collected cheque action.
Upon submission of the "Cheque Collected" action, the following steps occur:
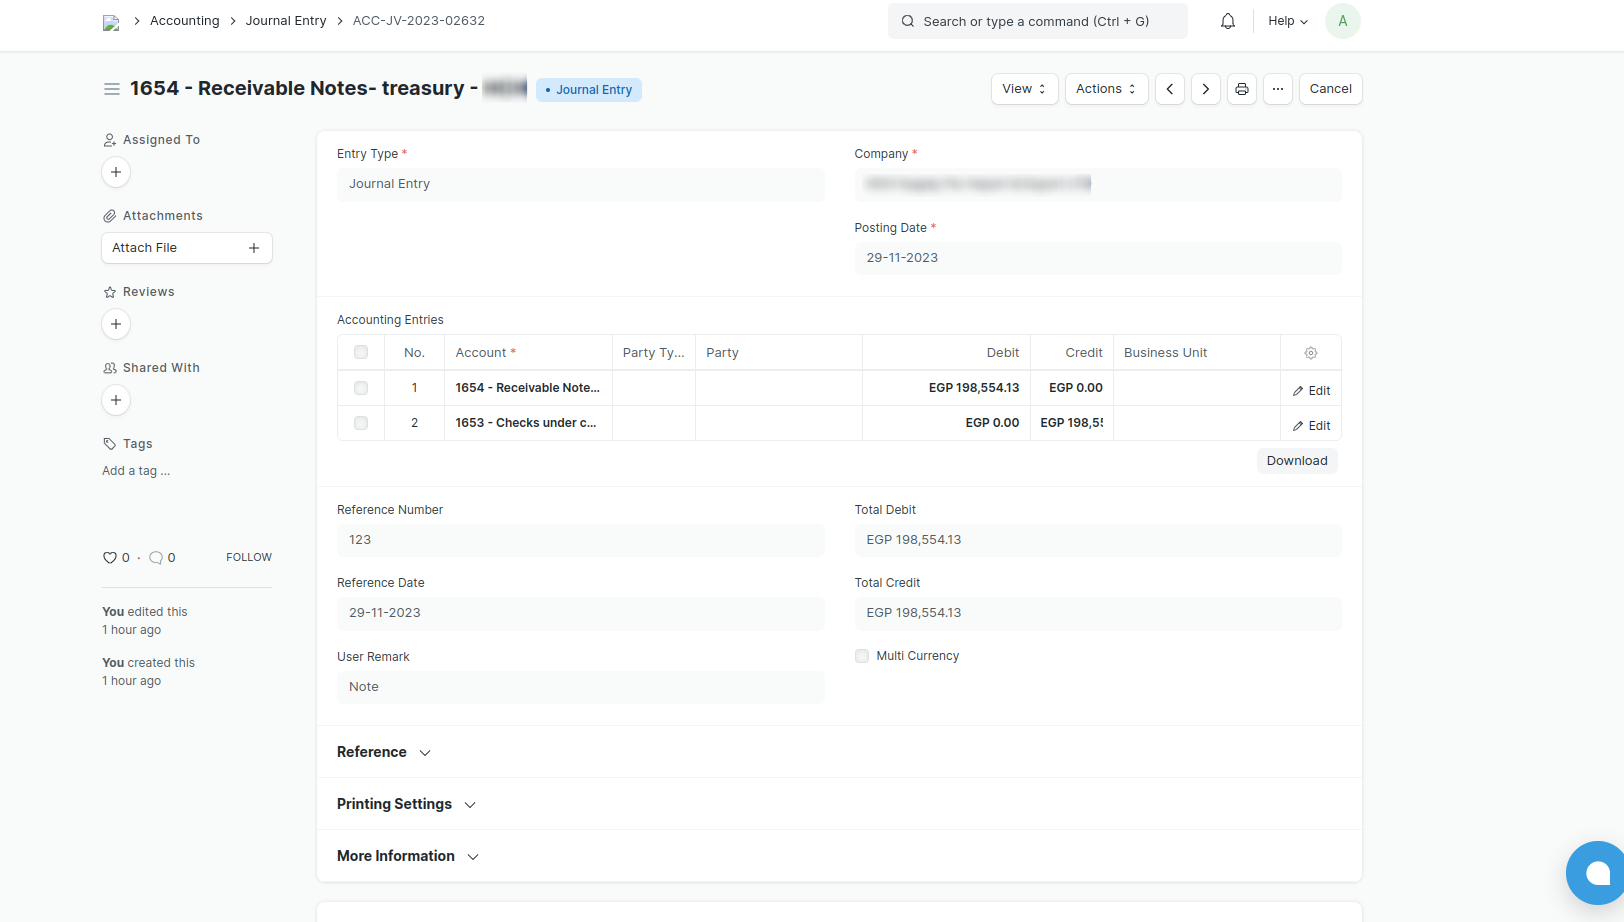
Update Journal Entry: The journal entry created when the cheque was marked as under collection is updated to reflect the collected status.

Set Cheque Stage Status: The stage status of the cheque is updated to "Collected" within the "Cheque Details" child table.

Modify Cheque Status: The overall cheque status is modified to "Collected" in the payment entry.